Okay, the recipe you’ve all been waiting for (except for you mom, I’ll work on a cinnamon raisin *kisses*).
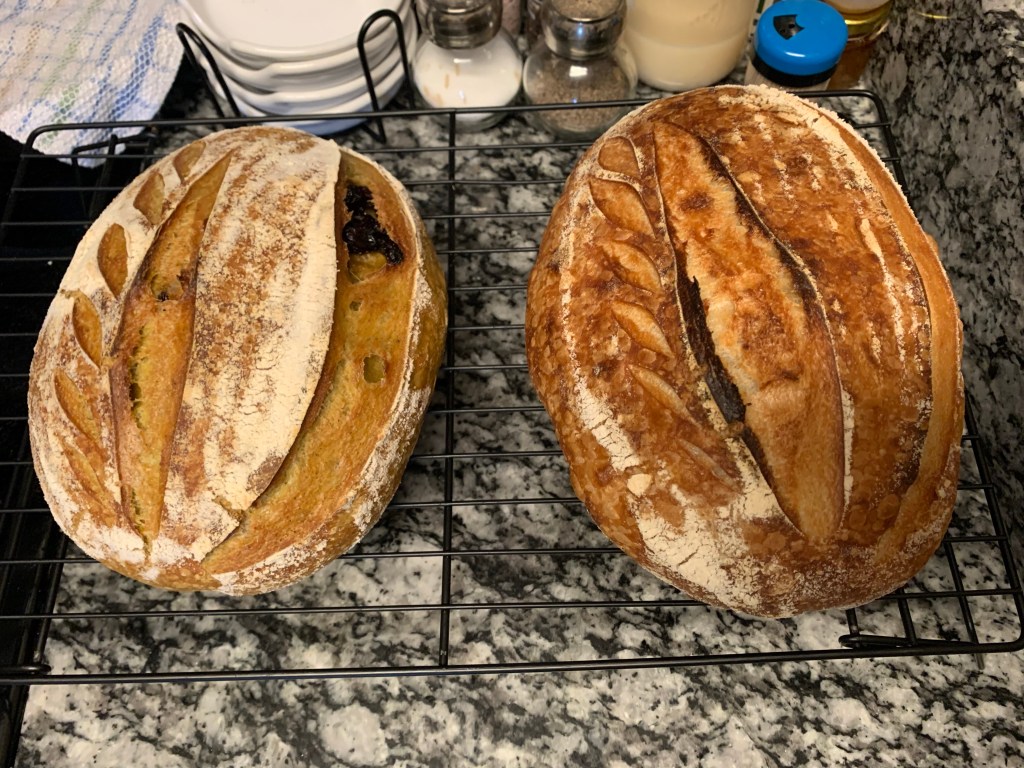
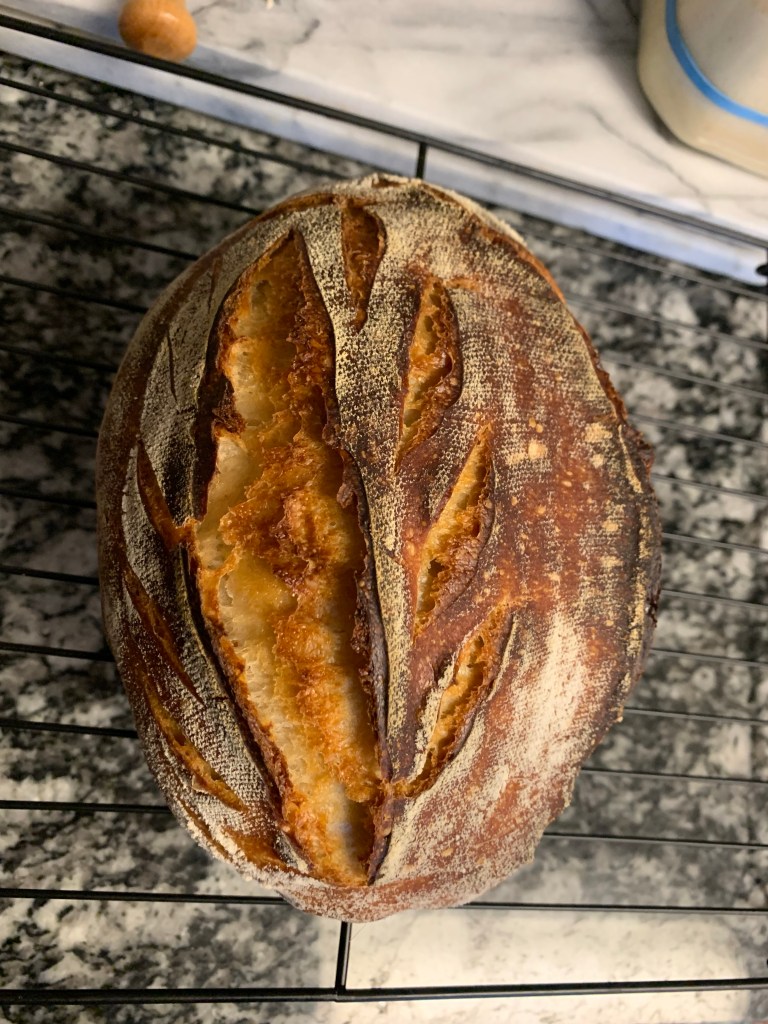
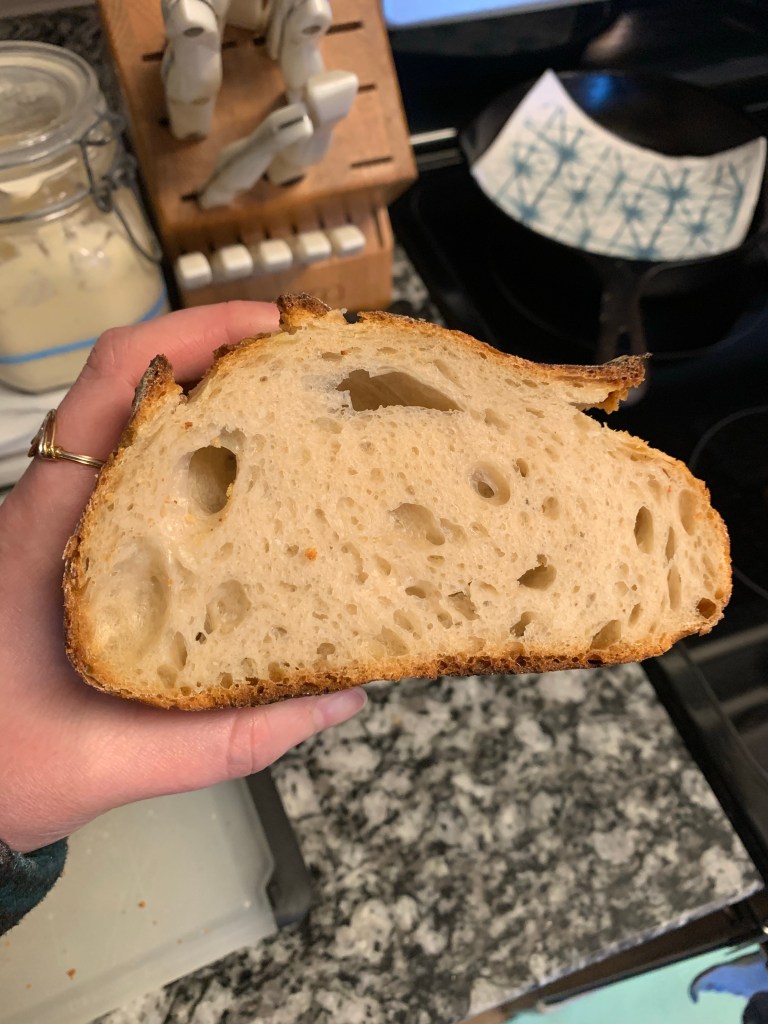
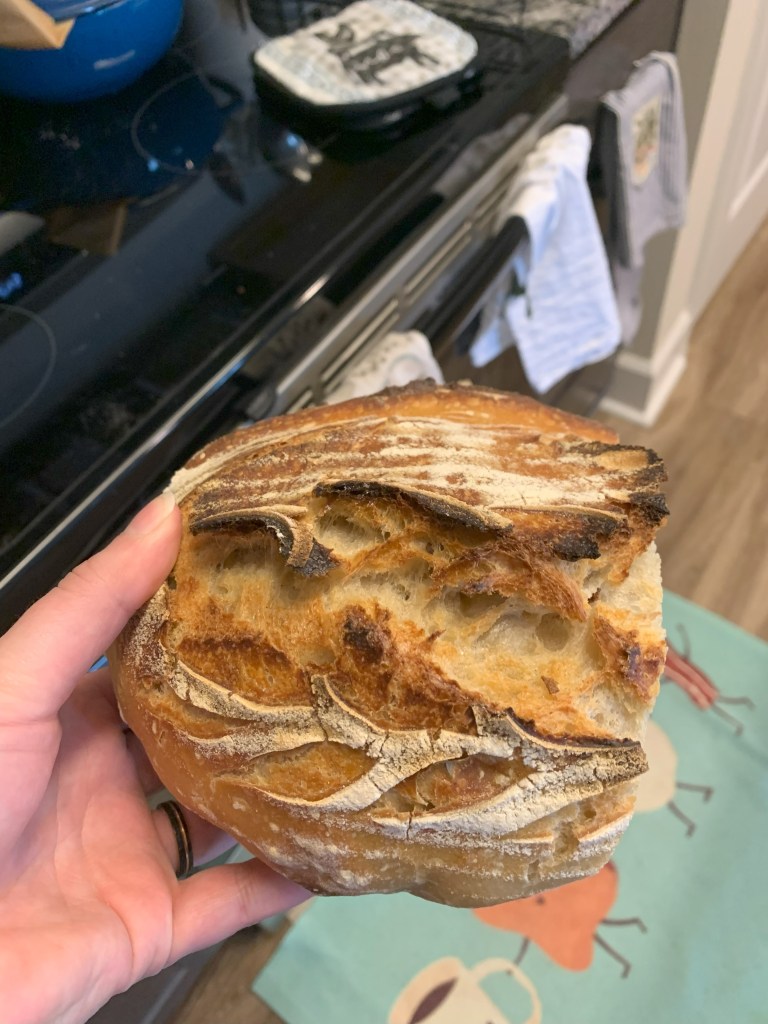
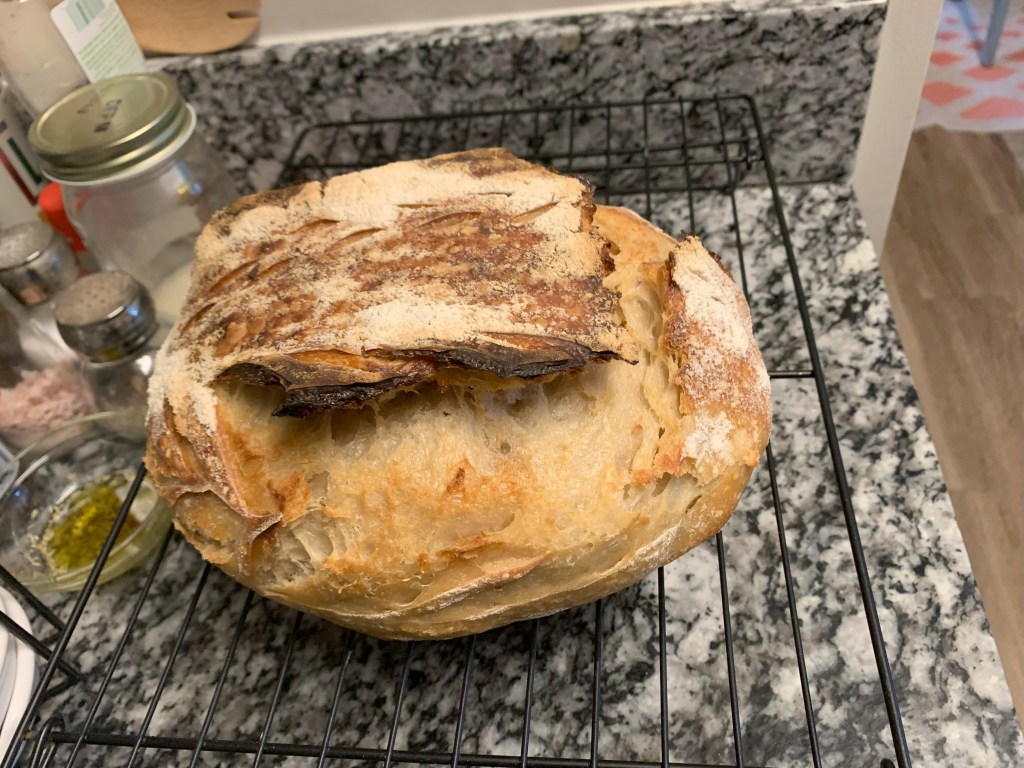
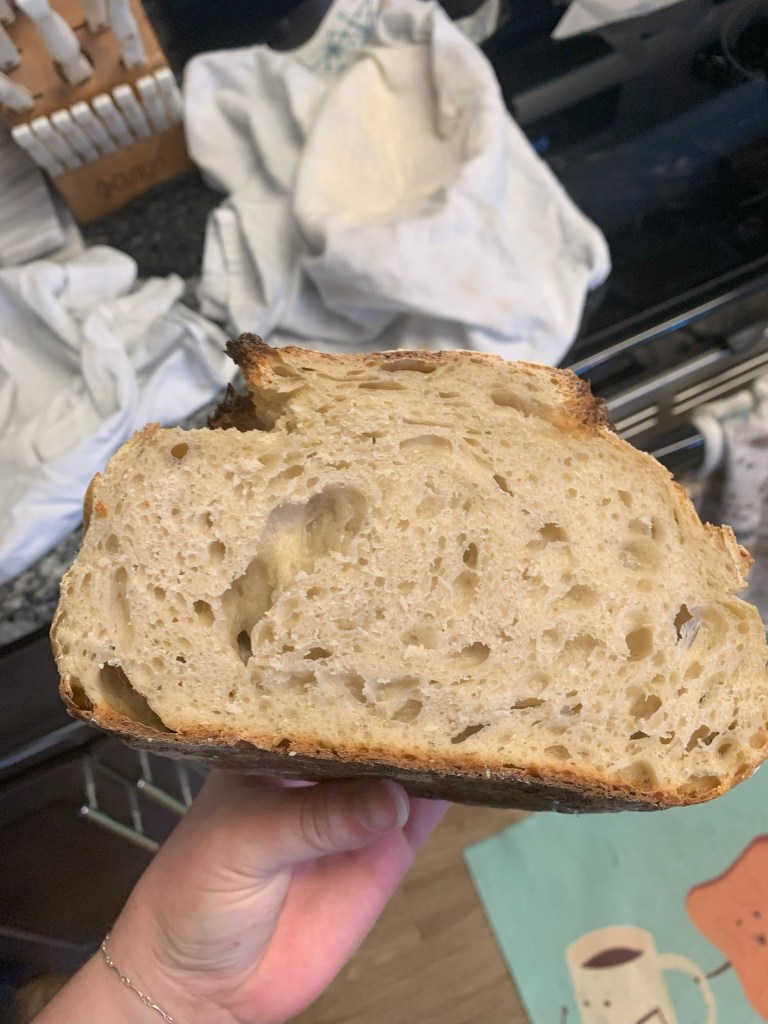
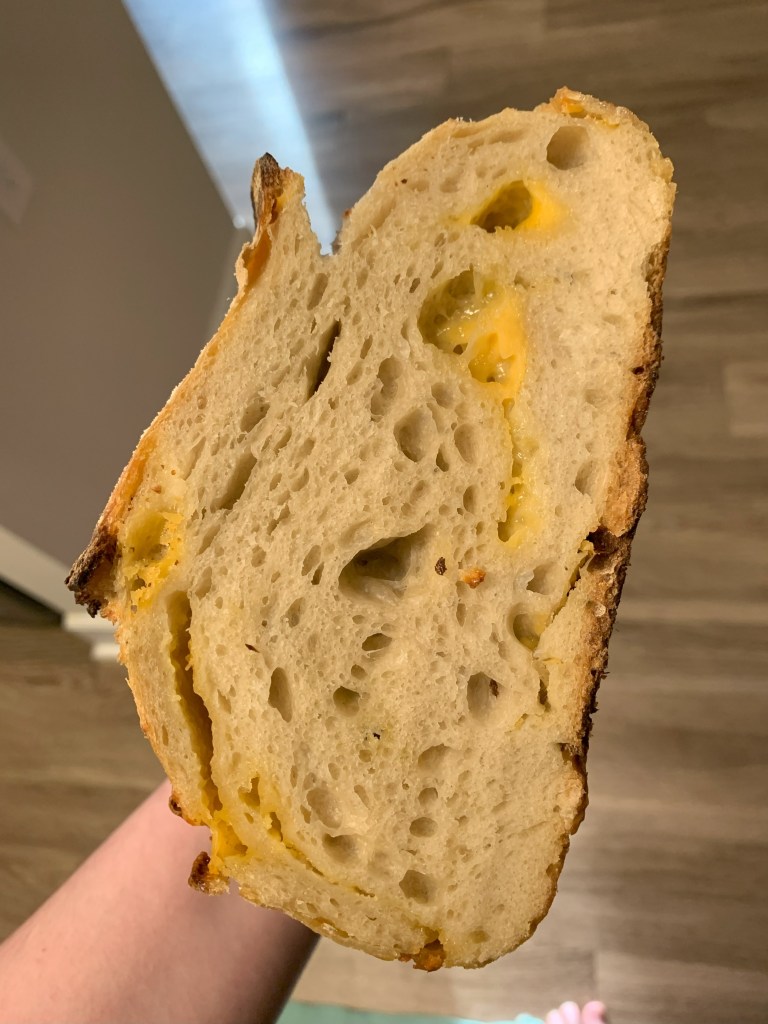
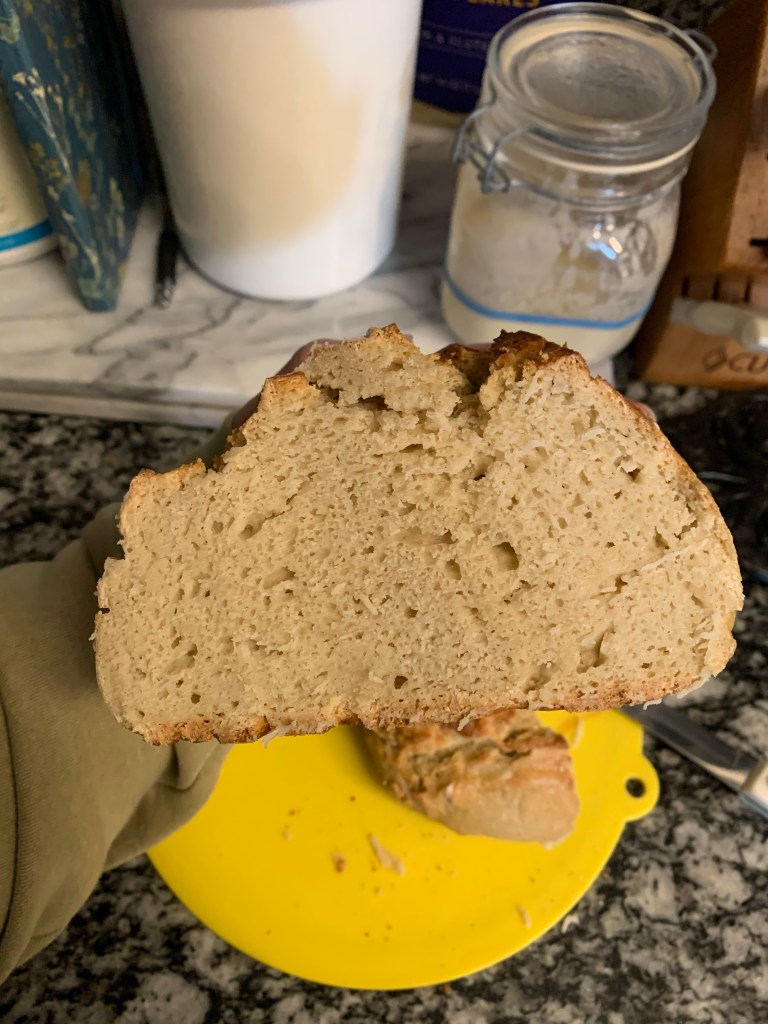
First, here is a cross section. And boy was I worried, because you should’ve seen the plain sister loaf. Not what I wanted at all.
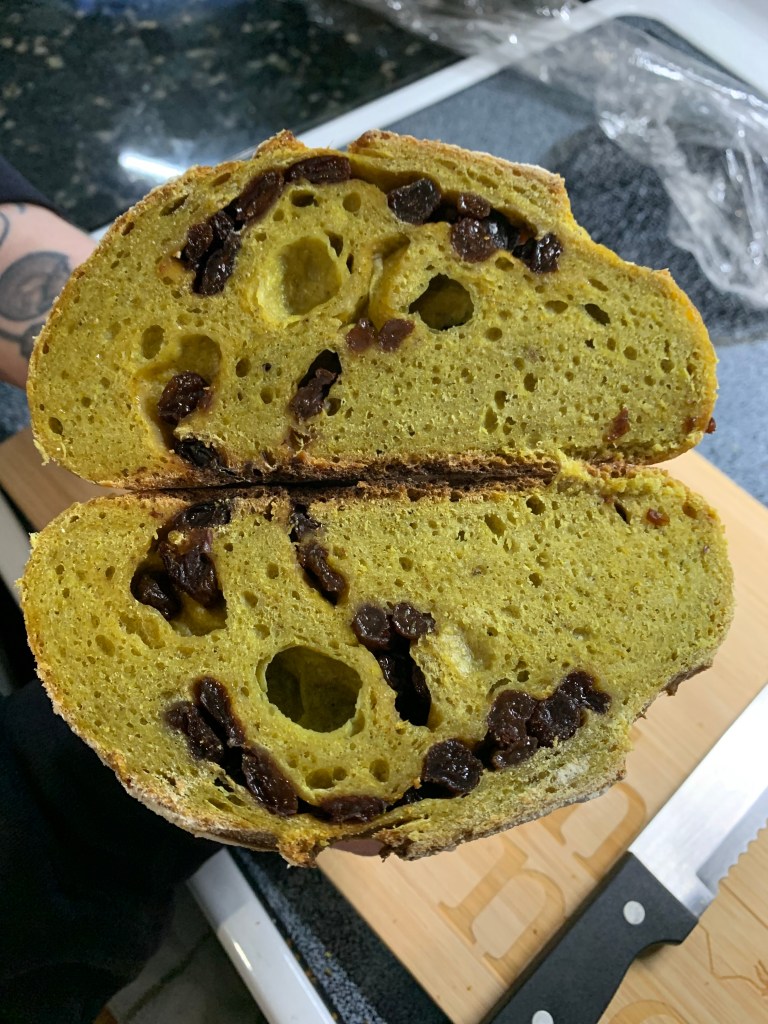
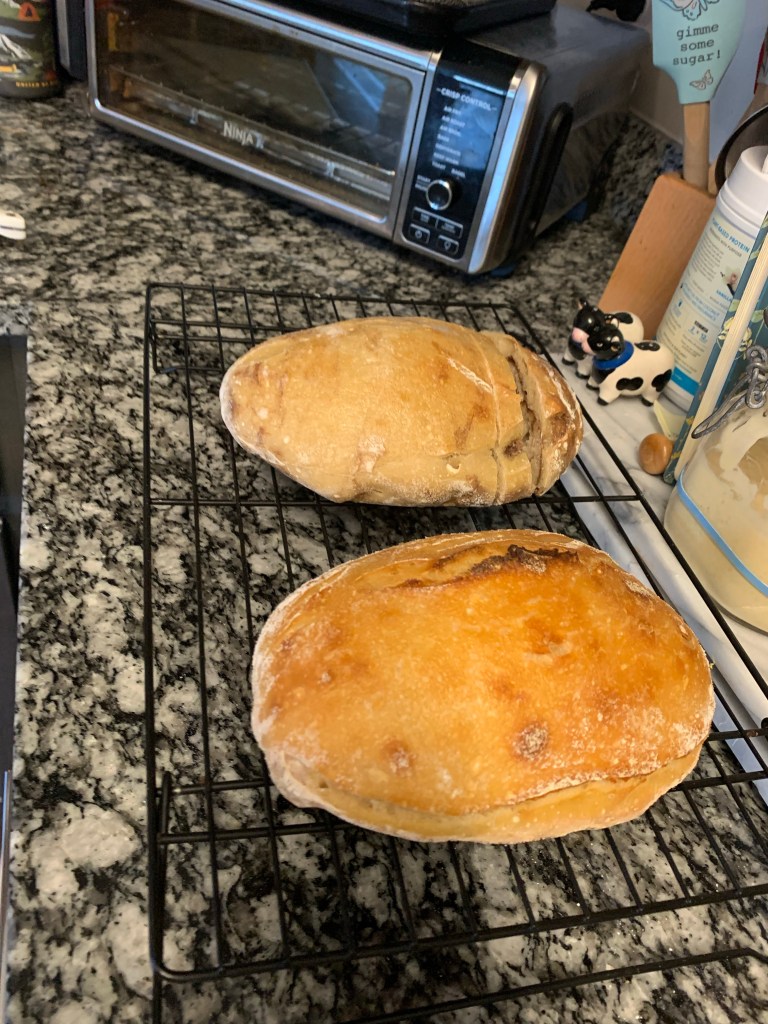
So I would say it isn’t the best? I’m not an expert; there’s always room for improvement, but after the failures I mentioned in my last post, I will take it. Of course all loaves will be different based on a variety of factors (your starter, humidity, water temperature, etc), but the goal is to get continuously good and consistent loaves.
So, if you want to know how I made this loaf, I had to base it off the last time I made it–which is based off the bread we made at the bakery (not a sourdough). I obviously made some tweaks because the first time my starter was not as mature and it was not happily fed.
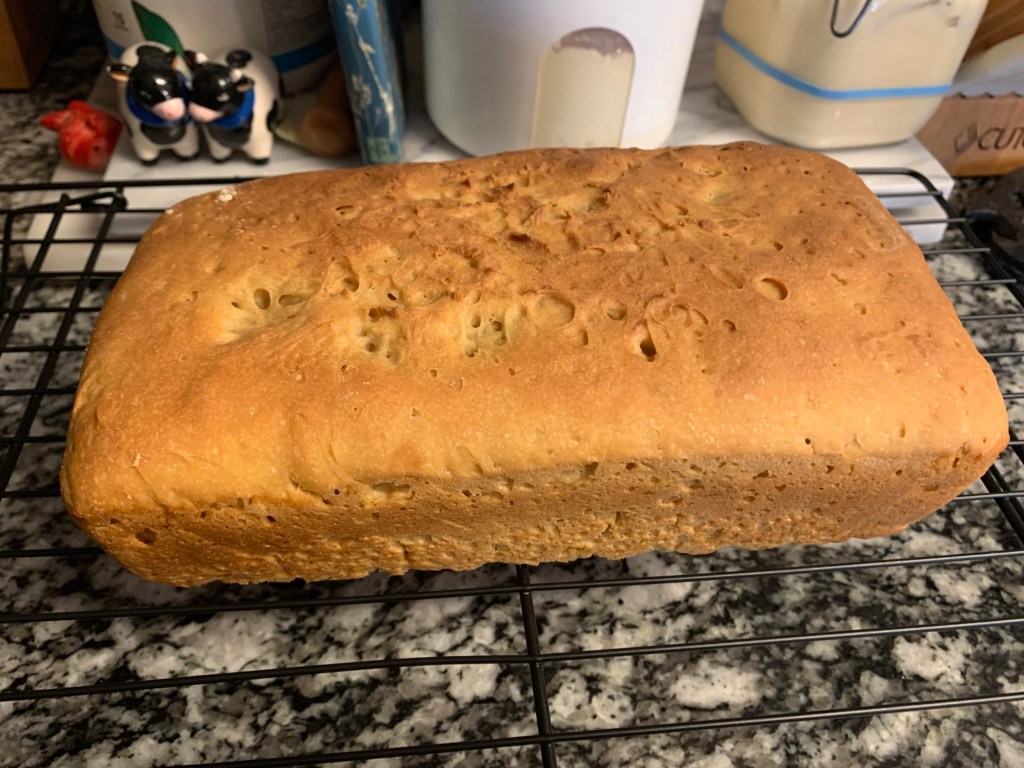
Here is the most recent process. I will also tell you what I did the first time because that loaf also came out deliciously:
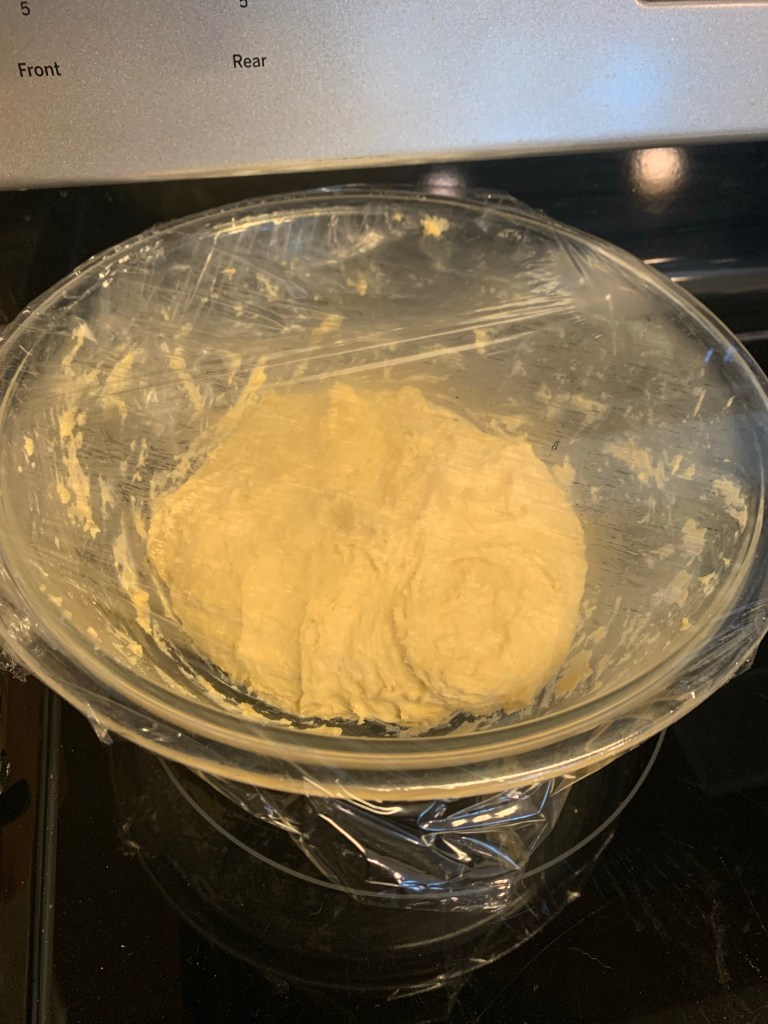
Take 80g starter and 319g of water (temperature being cool to tepid). Mix that thoroughly together. I like to do this in a glass bowl so I can see what my dough looks like on the bottom.
I used a mix of bread flour and all-purpose flour this time around, but when I first made it, I did not. Add in 280g Bread Flour plus 200g AP flour, along with 14g of salt PLUS your curry powder. I did 10g. My curry powder is just from Harris Teeter. Use whatever you have.
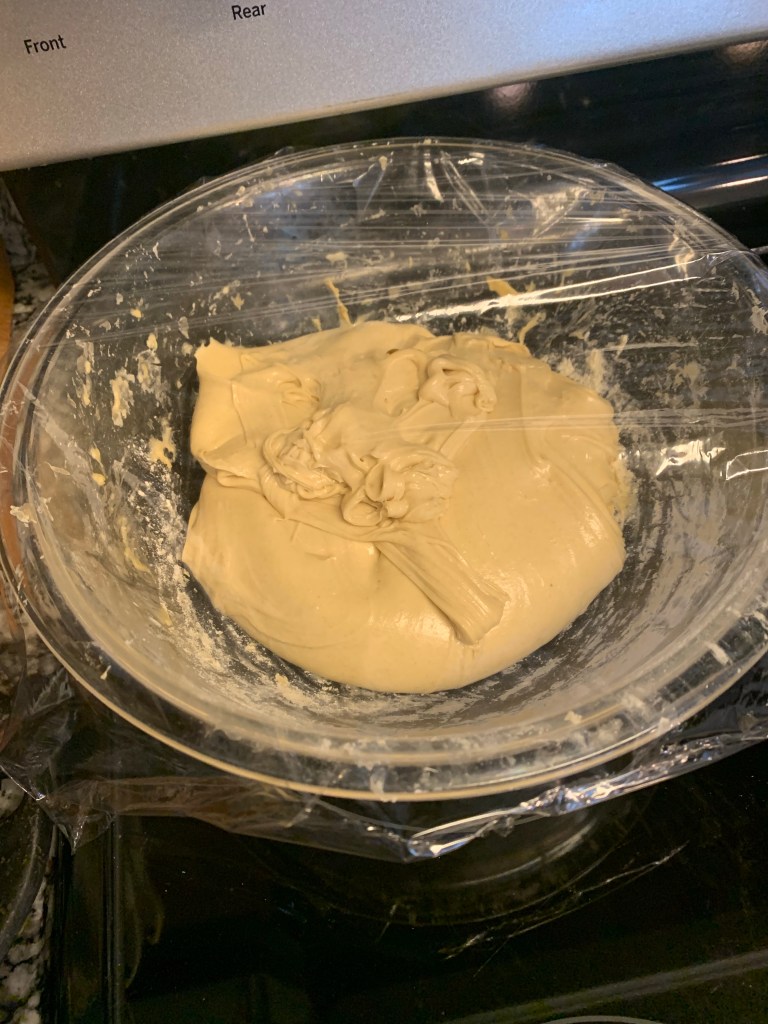
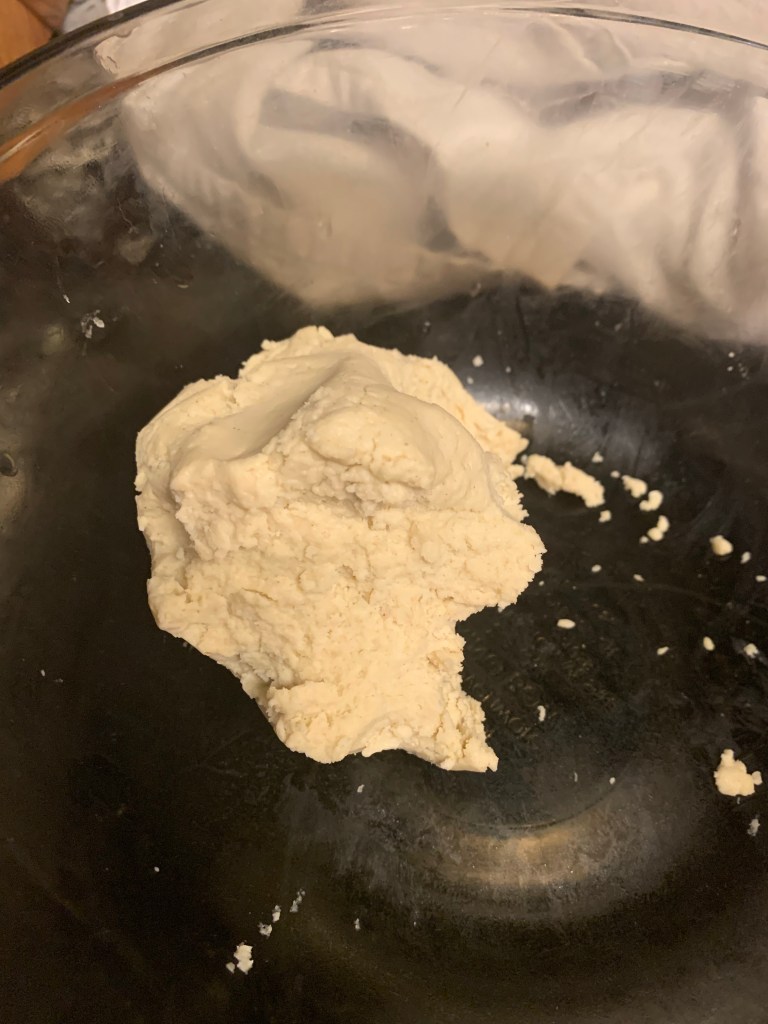
Mix your dough together thoroughly until it forms a pretty shaggy dough. If it’s super sticky and not coming together after a few minutes of mixing, add a little bit of flour (I’m talking like a tablespoon at a time). You want a pretty stiff dough.
Cover and let it rest for about 45 minutes before you do your first stretch and fold. I like to wet my hand a bit before I go in, and I find that stops the dough from sticking too much. Now you’re going to grab a chunk and stretch it up and fold it over itself. Rotate the bowl and go around. It may feel a little ‘tight’, that’s okay. If that happens, I will pick it up and do the slap and fold method. You pick up part of your dough and gently slap it into the bowl and then fold it down. Don’t really go too long into doing this; just make sure it forms a bit of a ball. Cover and let it rest again for another 45 minutes.
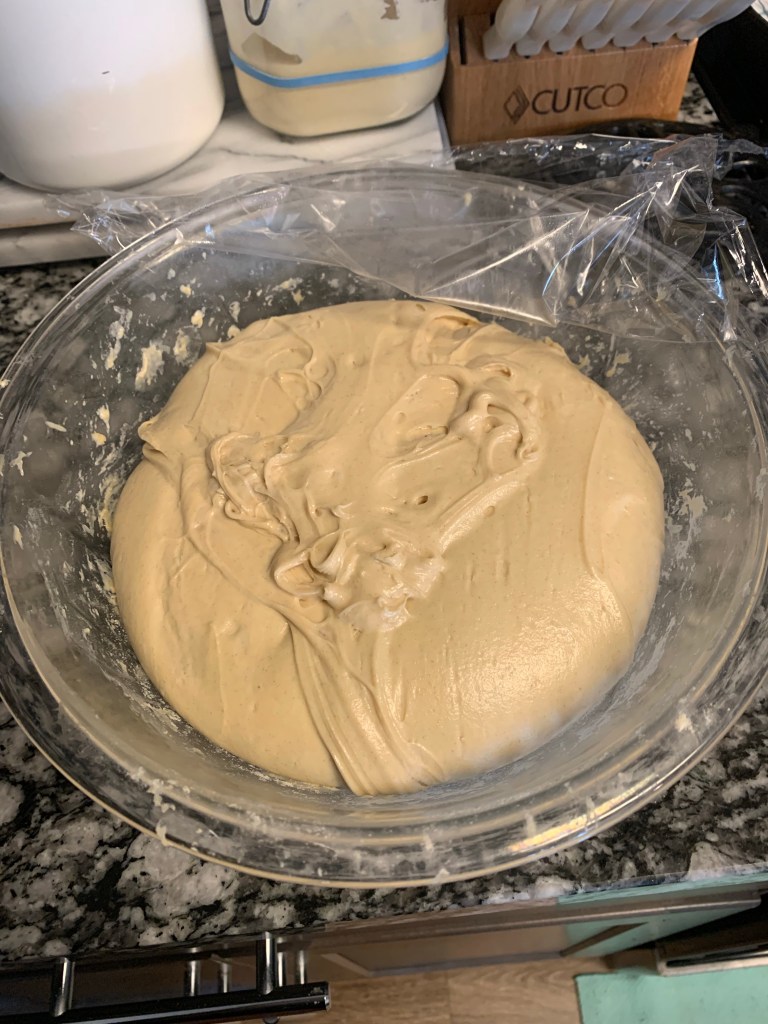
You are going to try and repeat this process three more times for a total of 4 times. Do not be afraid if you forget, and only do it 3 times. I speak from experience and do this with all of my breads, they will be fine.
After you are done with your stretch and folds, you are going to let it bulk ferment on the counter for a few hours. I do not have an exact time for this because it depends on how warm your kitchen is, or wherever you house your dough. For me, it’s been about 6ish hours from the start of mixing to when I start shaping it to put into my basket. You want there to be bubbles when you look at the bottom of the bowl. If your dough has lost it’s shape and gets very slack, it’s probably been overproofed, and you will need to look up how to turn it into focaccia. Sorry.
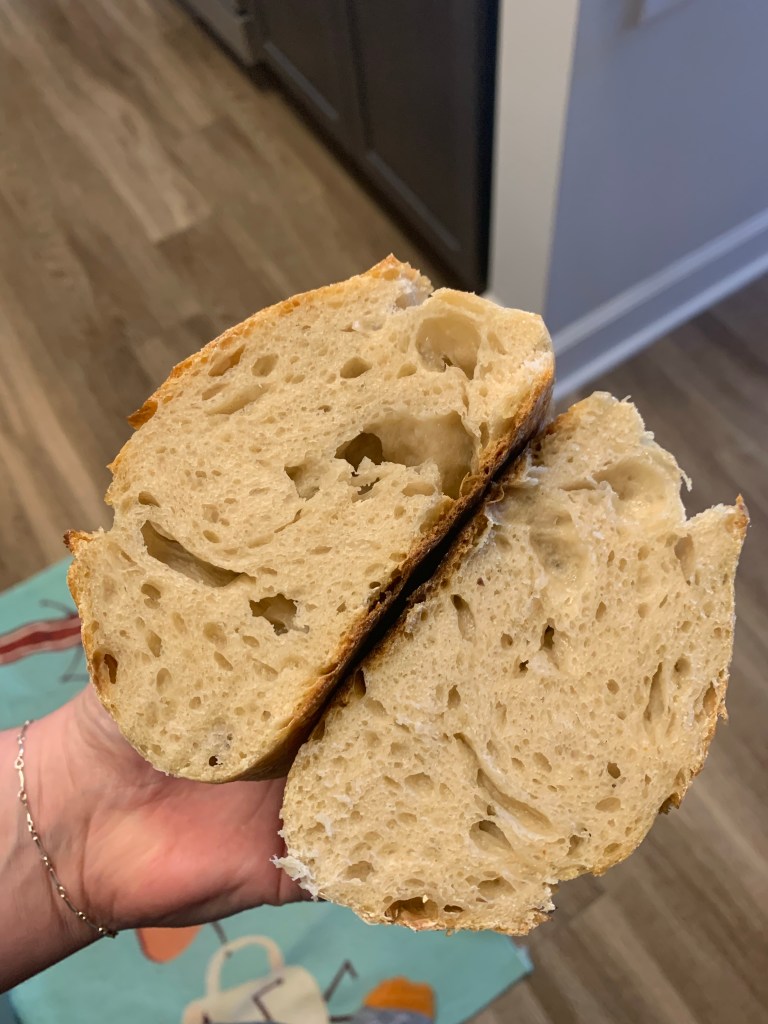
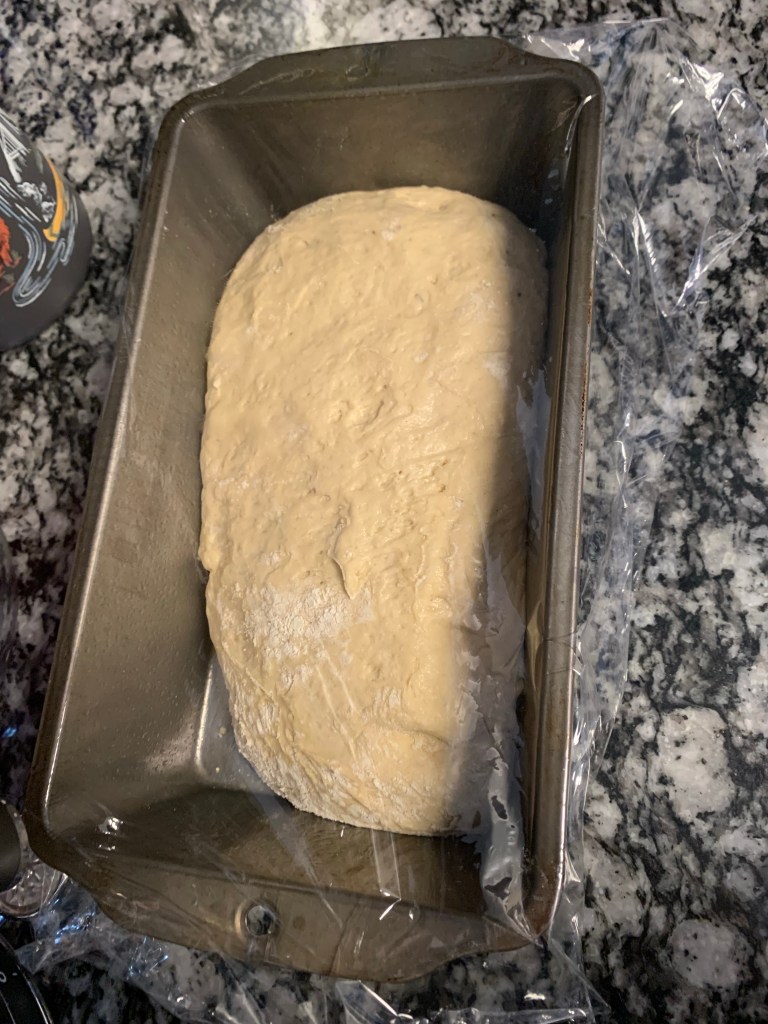
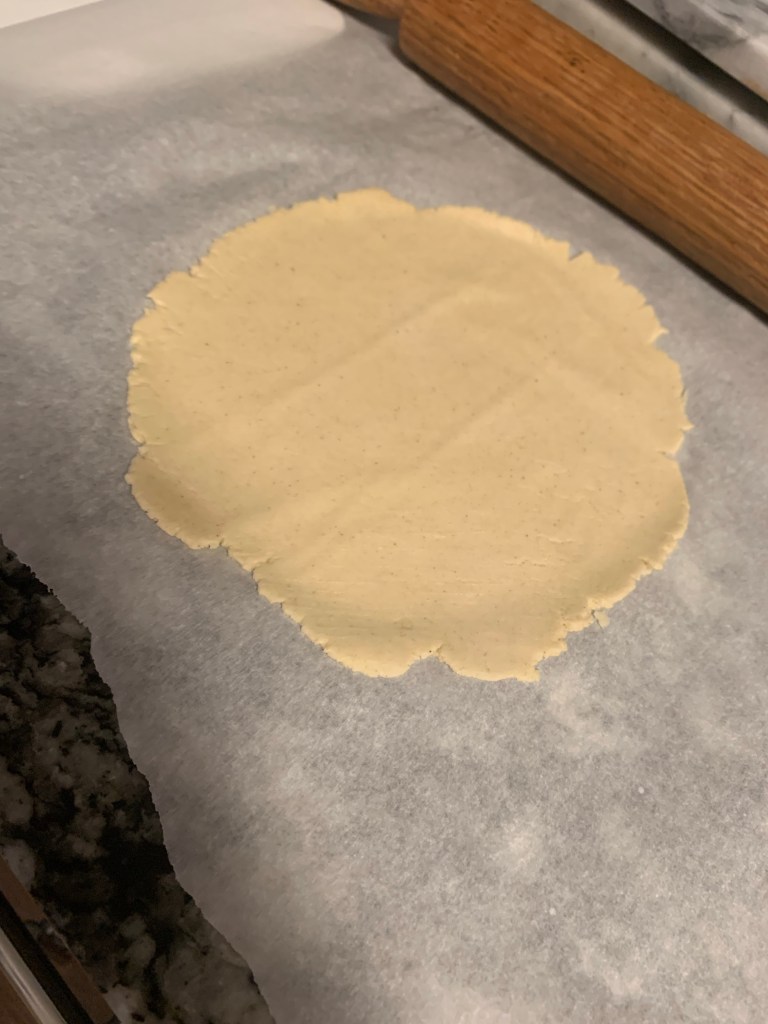
For those who bulk fermented well, it is time to shape your bread. This is where we will add our raisins. Before you dump your dough out, start by doing a many stretch and fold sequence around the bowl. This will help release it. Now onto your counter, I’m talking the barest of the bare, lightly flour it. Ideally you don’t want to at all, but if it’s a little sticky, it can help so you don’t rip it. Now stretch your dough into a rectangle and sprinkle your raisins. Fold your dough into thirds and add more raisins. Then roll your dough lengthwise (think like a sleeping bag). Now you will seal your raisins in and pull the dough tight to you so that you create tension. Like you would normally do when making a regular loaf.
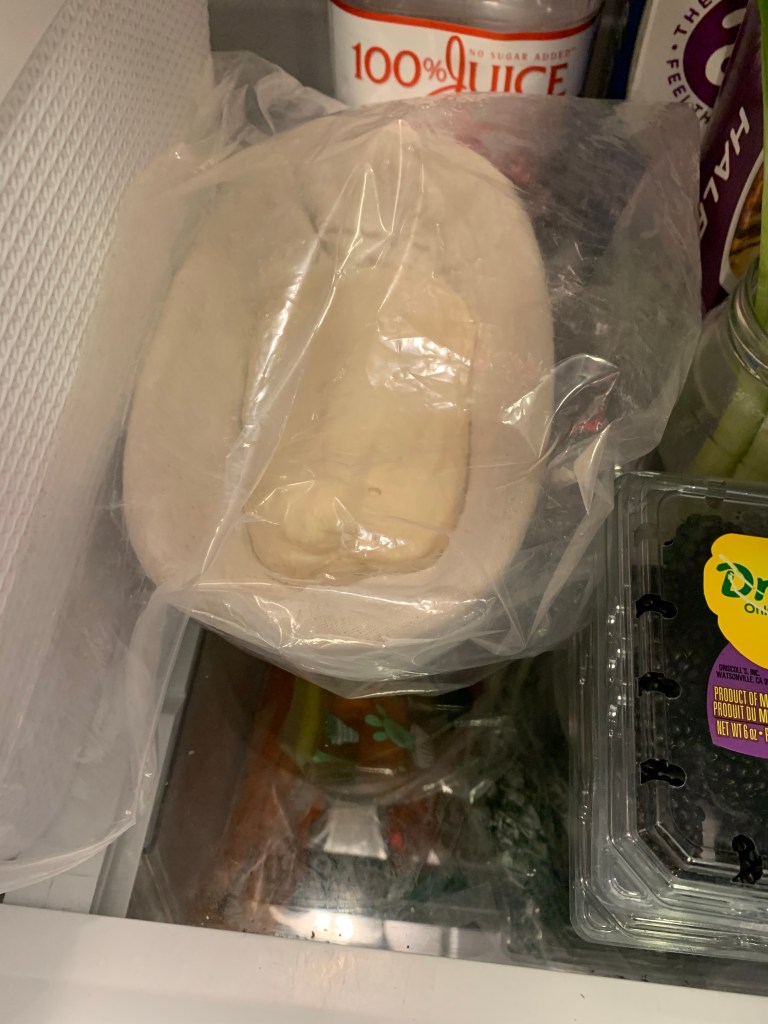
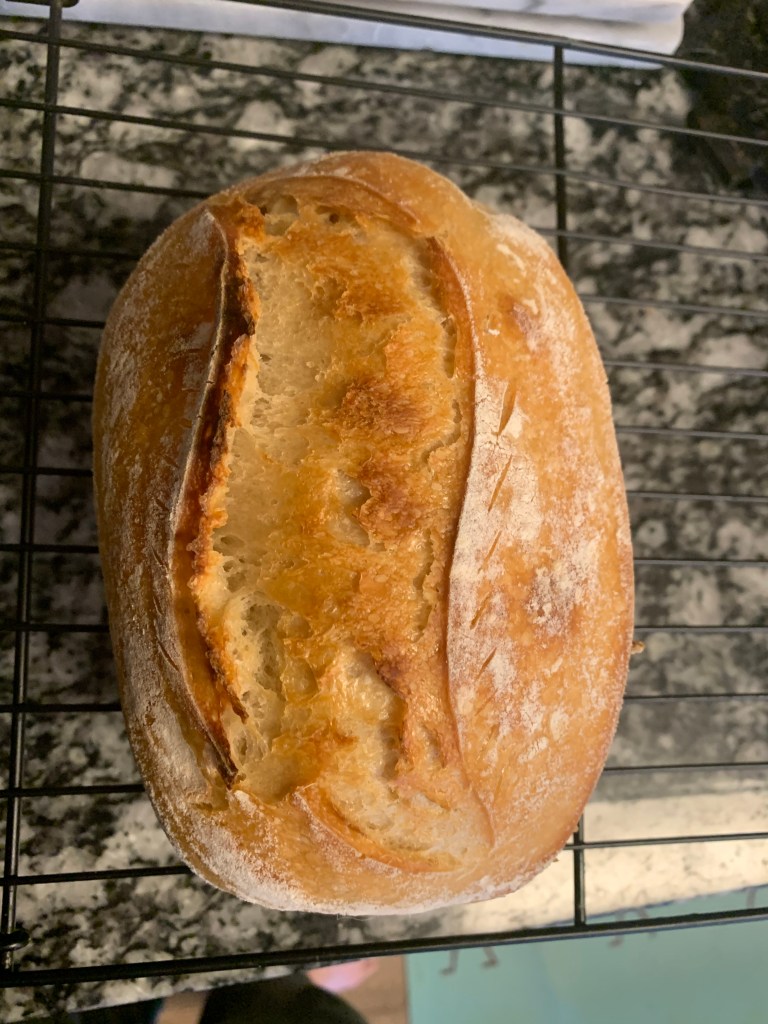
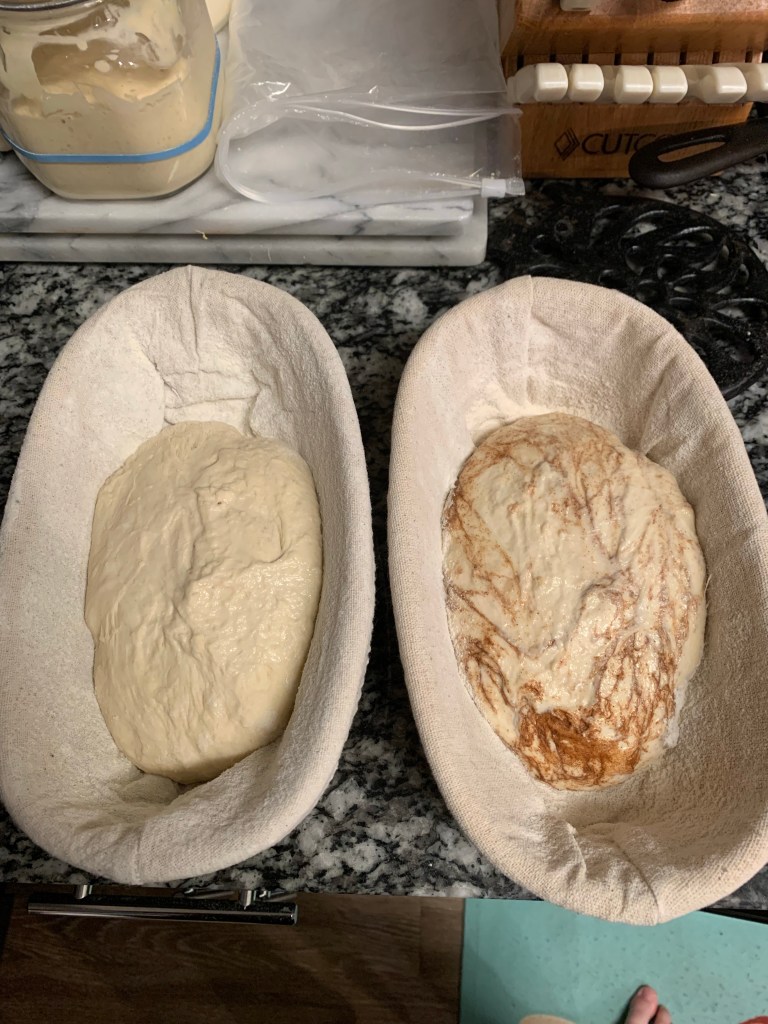
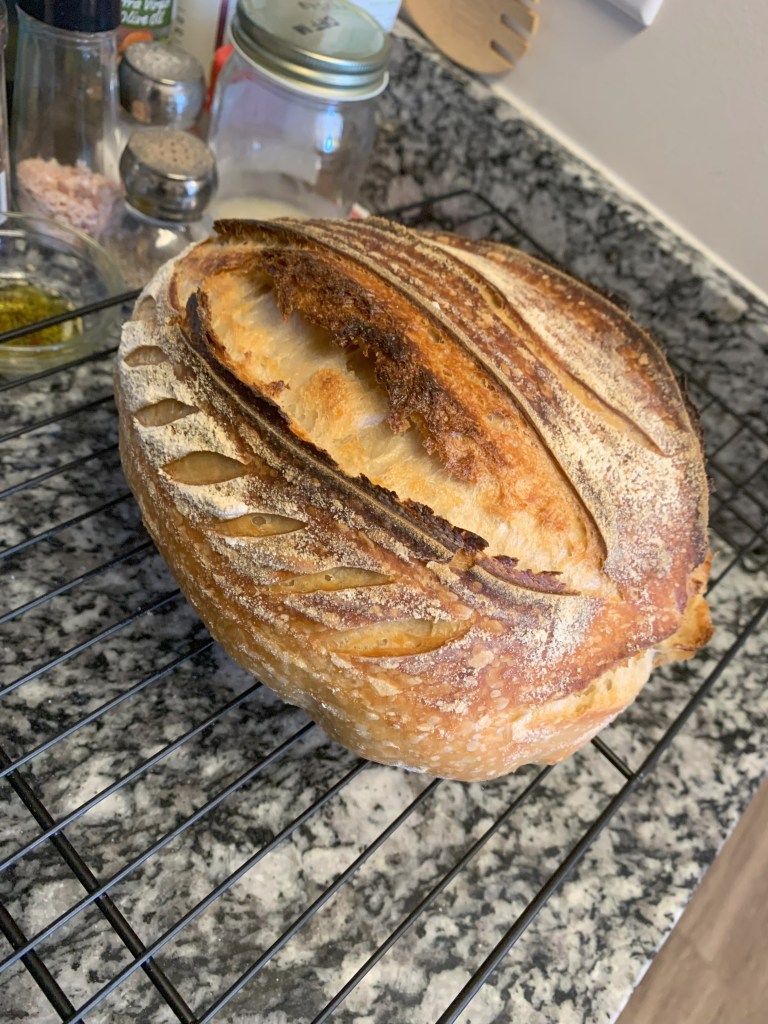
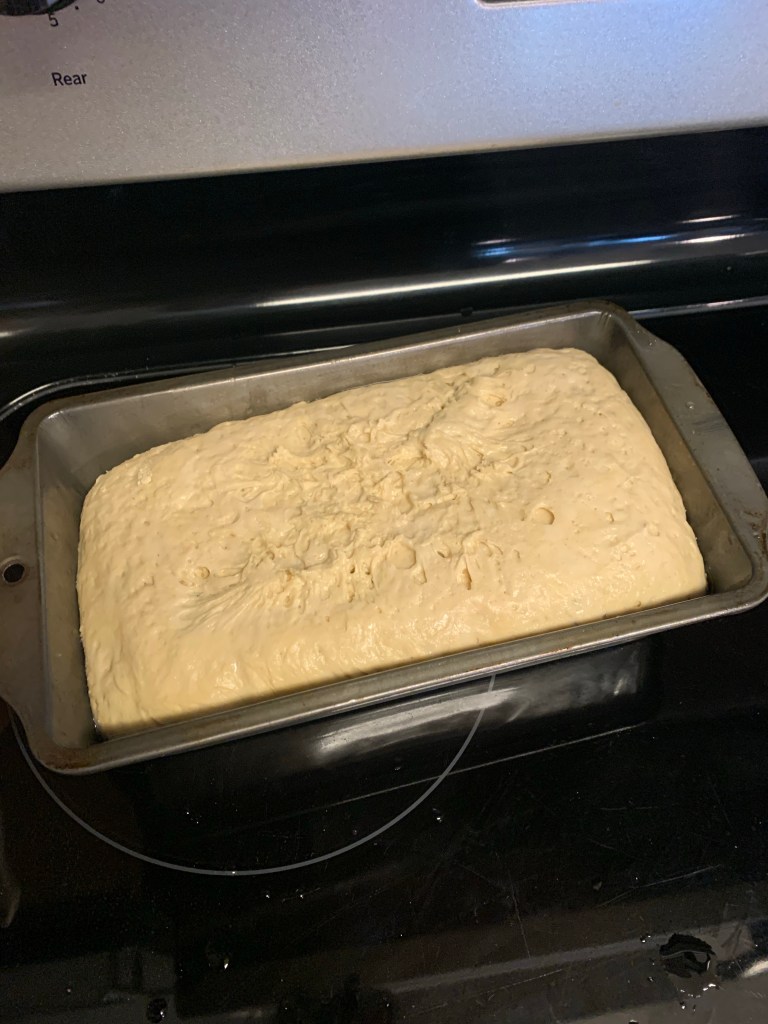
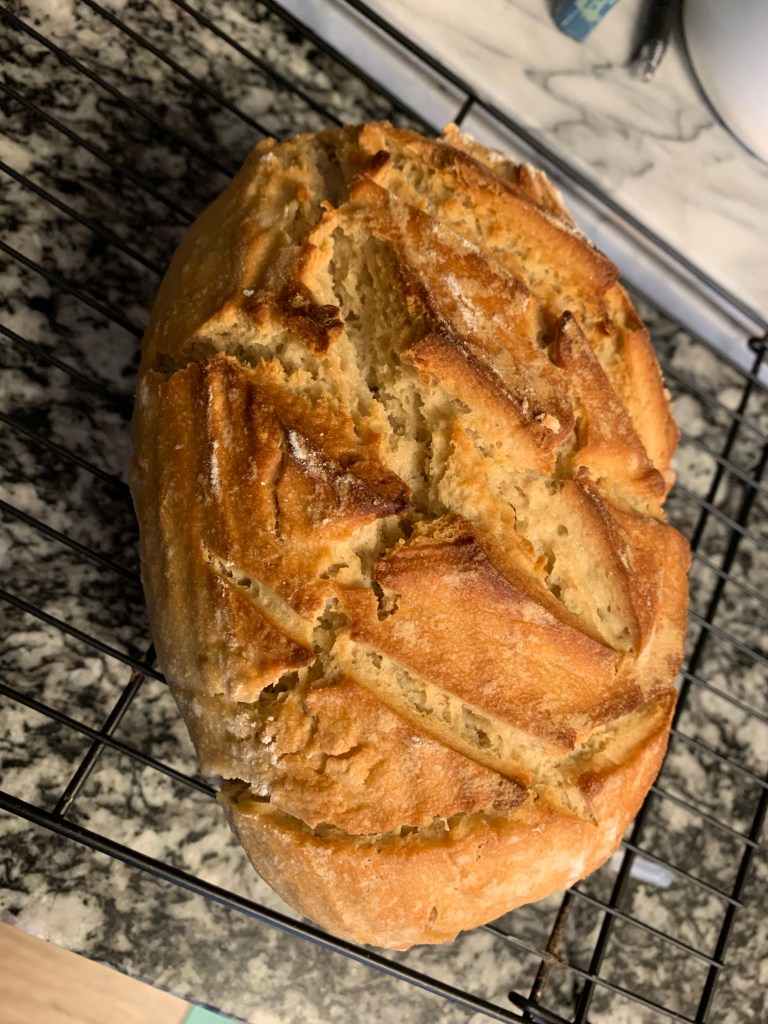
Flour the top and pop it into your prepared basket and stick it in the fridge for the rest of your fermentation process! I usually do about 14 hours for a nice sweet spot. Afterwards you are going to want to preheat your oven to 450 degrees for a long time (like 30 minutes). Then preheat your dutch oven (DO) for 20 minutes. After your DO is preheated, then you’re going to take out your bread and plop it onto your parchment paper and score it.
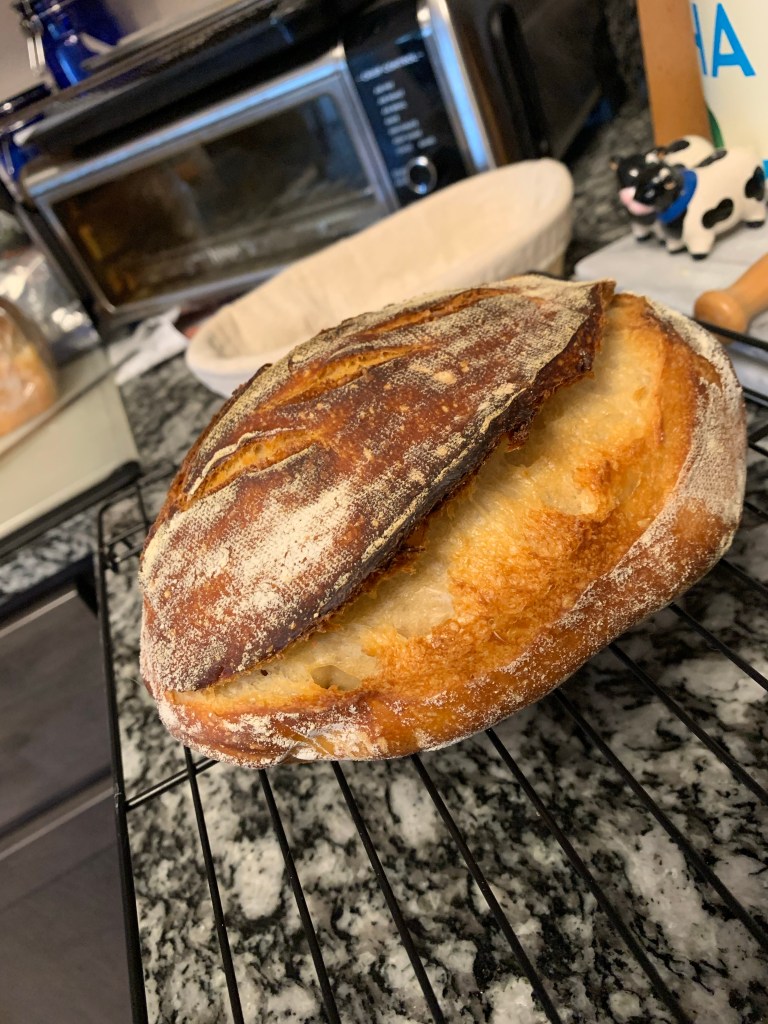
I like to bake my breads with the lid on for 38 minutes and then lid off for 25 minutes. This gives it a great golden crust on the outside, while keeping it nice and moist on the inside.
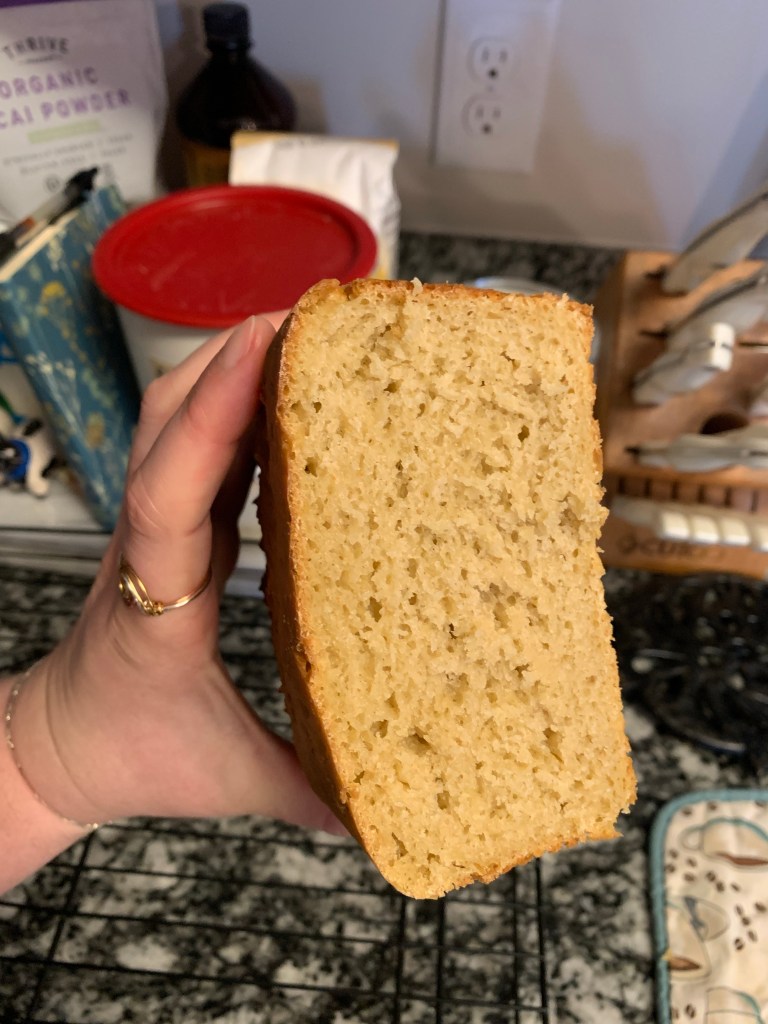
Okay for those who do not have bread flour, here is my mix I used the first go around:
117g starter (it was runnier, but still bubbly)
485g AP flour
328g water (temperature was still cool)
9g curry powder (I made a note to add a bit more, hence why this go around there was an increase, but you do you boo)
14g salt
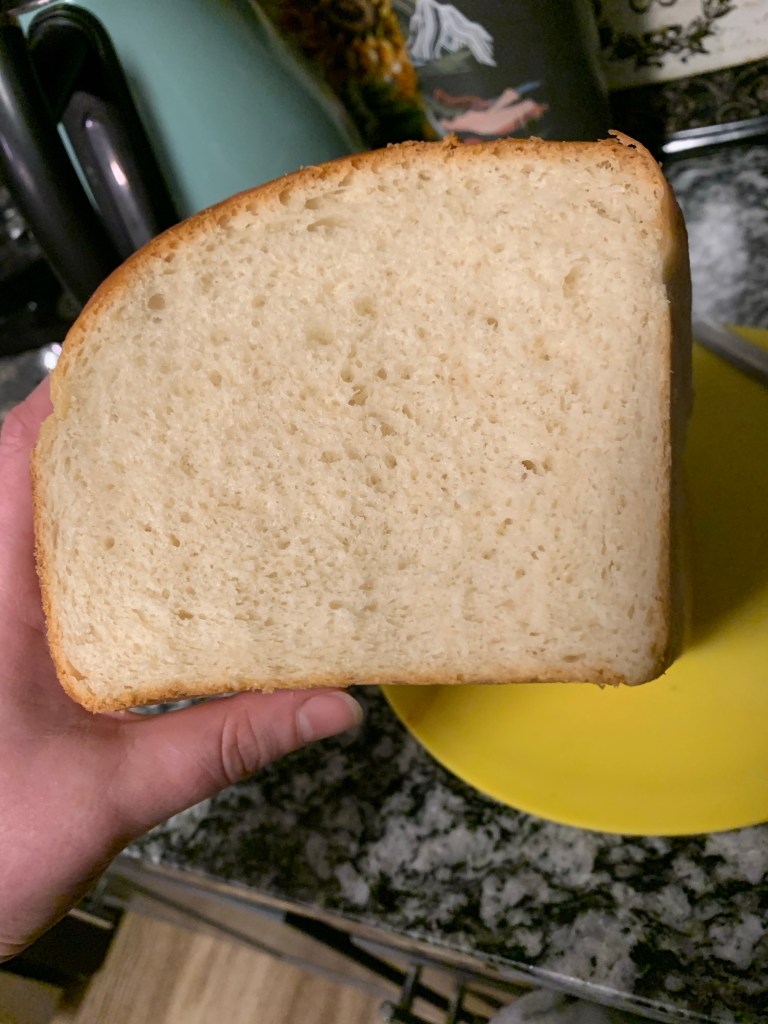
Now my dough was sticky to begin with, but it did get better. The process afterwards was pretty much the same!
And voila! Hopefully you have some delicious curry raisin bread. Please let me know if you try it and if you like it. Let me know if you try it and this process worked or didn’t work. I’m always up to hearing how things go. Or didn’t go.
Happy Baking!! xoxo, gossip girl